

It has been a hot minute since I last posted a raw cheesecake recipe, so I apologise for that first of all. You’ll all probably know this by now, but these are literally one of my favourite kinds of recipes to make and I’ve made SO many different variations over the years. typically, I would always use my food processor to make both the base and filling components for these kinds of recipes however, I’ve recently been working with Kitchen Aid- who, in case you didn’t know make an amazing range of kitchenware including their infamous stand mixers and these gorgeous Artisan Blenders. I was so excited to test out the Artisan blender, as I’ve never actually owned something like this before. It’s essentially a jug style blender that I can confirm, is extremely powerful and can be used to make just about anything.
When purchasing larger slightly more pricey kitchen appliances, I always like to make sure that I’ve done my research and really looked into the product and read some reviews. So, I thought I’d give you the low down on how I’ve been finding it so far and my honest feedback on the appliance! First of all, although I have been collaborating with the brand and have received payment for the recipe creation and social media posts- this review is not part of the paid content and is just something that I thought might be helpful for some of you who might be considering the purchase. I have previously recommended the blender on my Instagram stories and now just wanted to give you a little more information as to why I’ve been loving it so much! I wasn’t exactly sure on the best way of doing this, so have decided to try and answer what I thought might be the key questions that you guys would like to know about the product, so here goes..
Is it powerful?
I’ve mentioned previously that it’s an incredibly powerful blender and I was honestly so impressed by this from the word go! It literally takes no time at all to blend soups, smoothies, sauces and even raw cheesecake fillings to a velvety smooth consistency. If it’s stats and numbers that you’re after, I’ve popped the link to the Kitchen Aid site with all the info here. I’ve even managed to make entire raw cakes and energy bites in here, so it’s definitely strong enough to blend through things like nuts and frozen fruits.
Do you need a food processor as well?
Okay so typically, I’ve always owned both blenders and food processors because usually they do very different jobs. I would always used my food processor for making things like raw desserts, energy bars, baking and hummus. Whereas, I’d use a blender for more liquid recipes like soups and smoothies. However, with this I can do pretty much everything all in one, which is super handy! Another cool feature is that when making soups, this will heat the soup whilst blending so you won’t even need to warm it afterwards!
Is it hard to clean?
Something else that I’ve been loving is the self cleaning function, as this has honestly made clearing up so much less time consuming and less of a faff! You simply fill the blender with water and wiz this round to clean everything- so easy! They are also dishwasher safe (the jug part, not the actual blender)
How much do they cost?
Okay so I’m going to be honest with you here, the blenders don’t come cheap and are definitely an investment. This exact model retails for £649.99, but they do also have other products on the site for slightly cheaper. However, I will say that if you do have the money to spend I would always recommend in investing in good quality equipment. This is something that I always try to do and have had my current food processor for around 4 years now. Similarly to my camera equipment; before upgrading to my current camera, I used my Canon 750d almost everyday for around 4 years and it still works today.
Appearance
Other than all of the incredible features above, I also think that these look really beautiful on the kitchen side and are available in 3 different colours. Personally, I have the ‘medallion silver’ shade, which matches in with my kitchen perfectly.
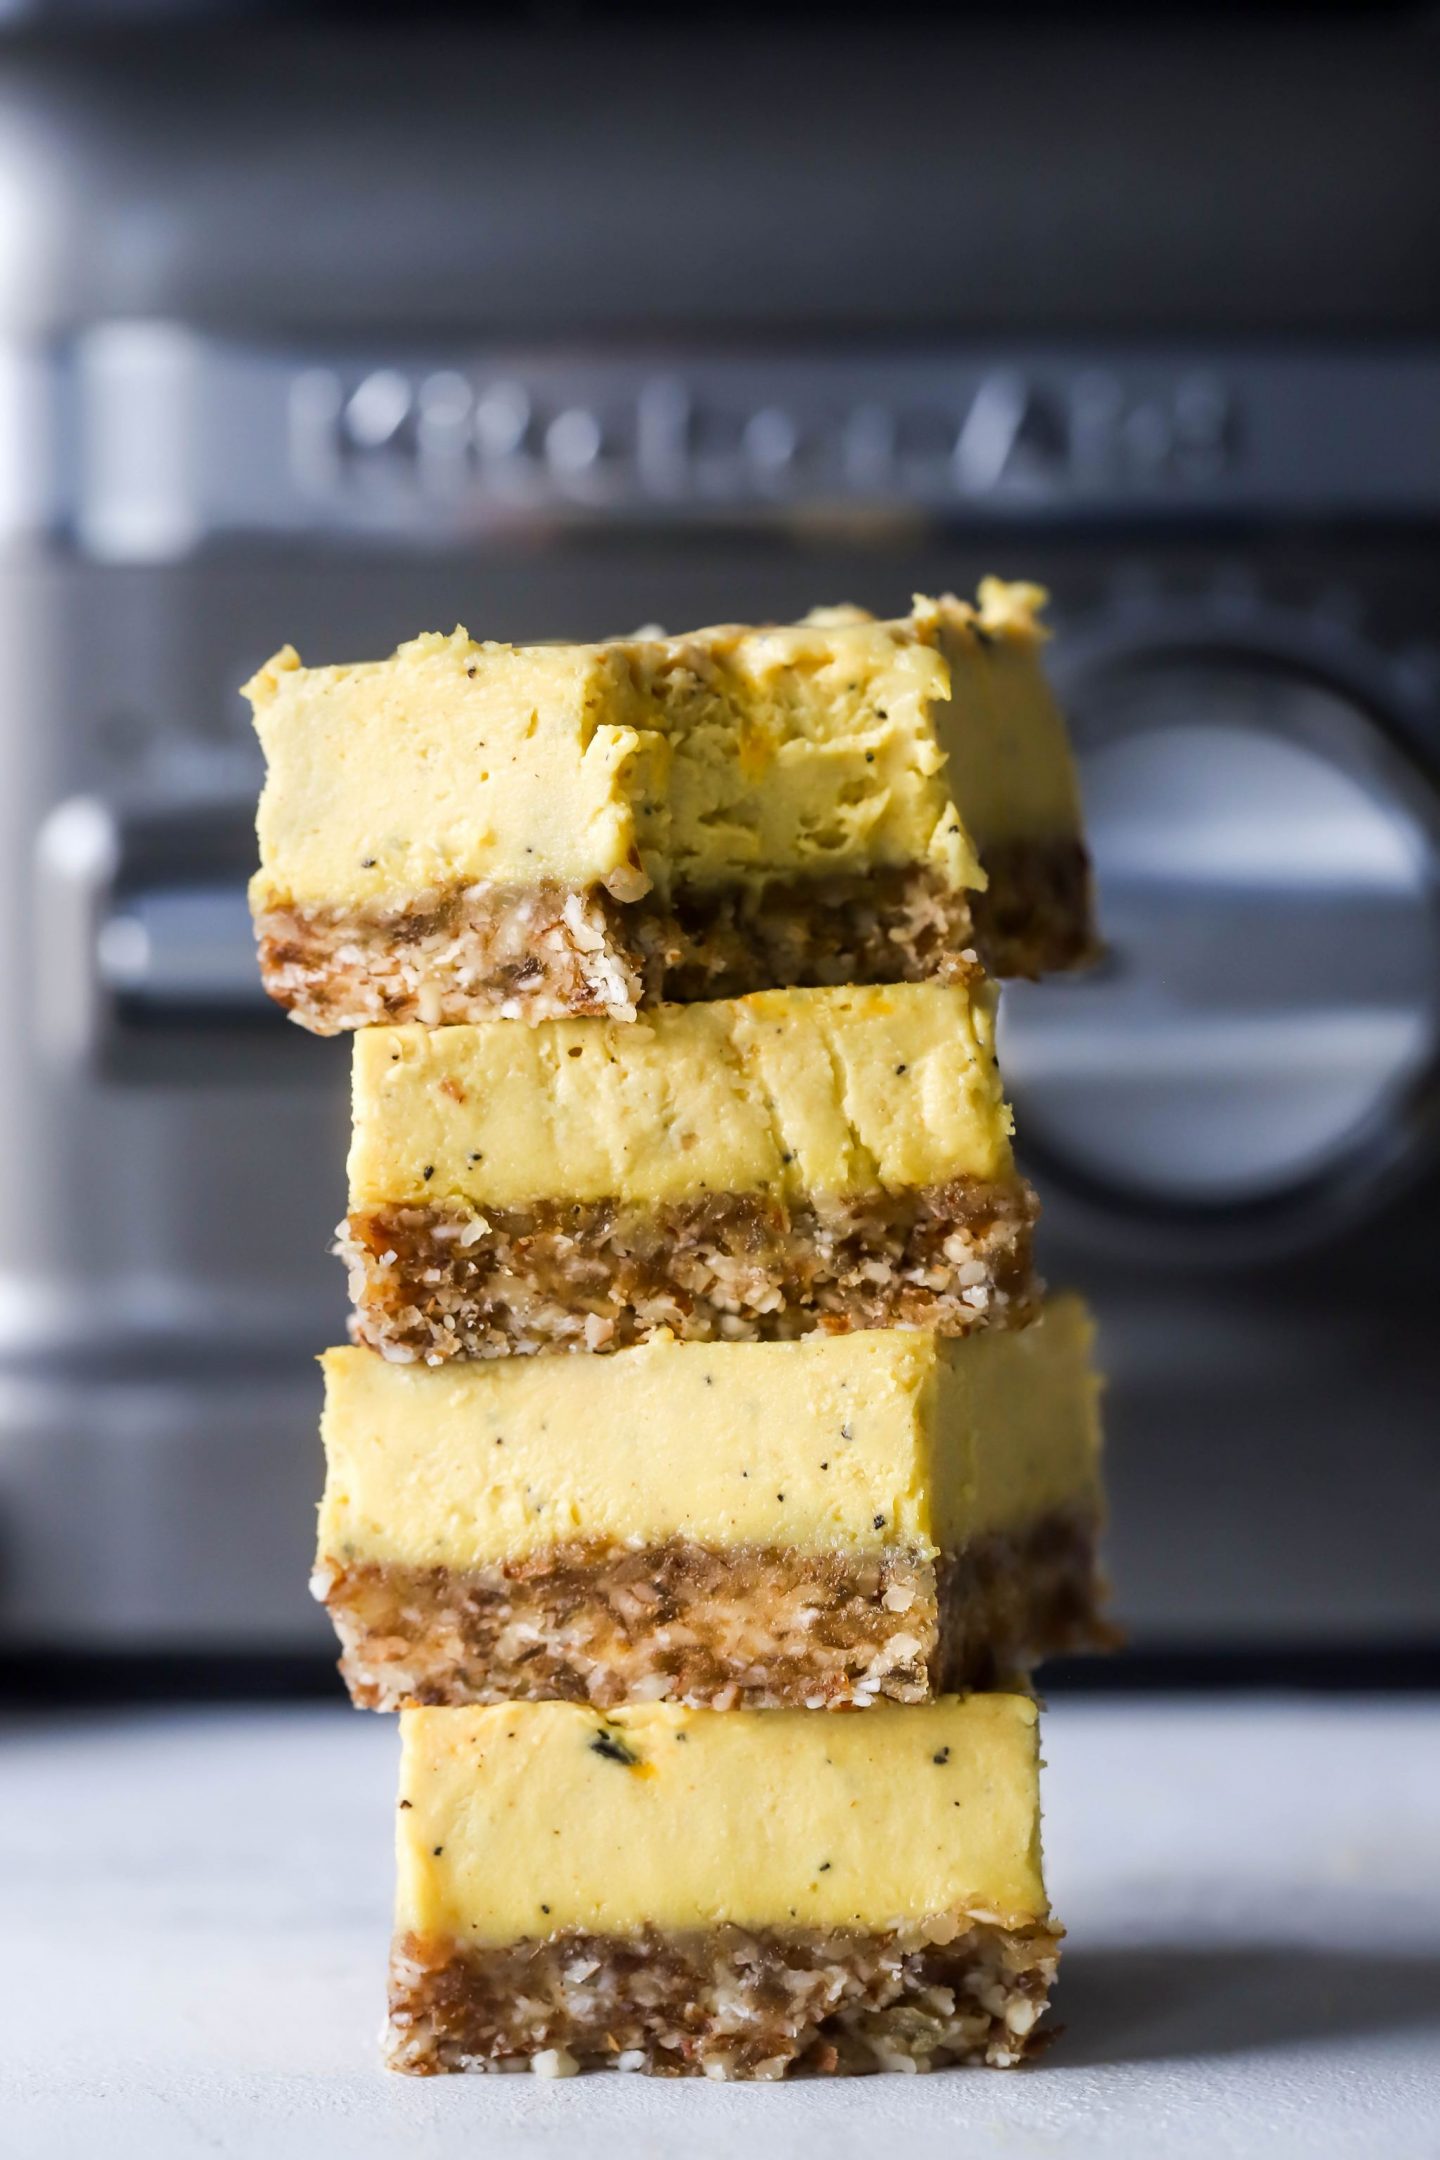
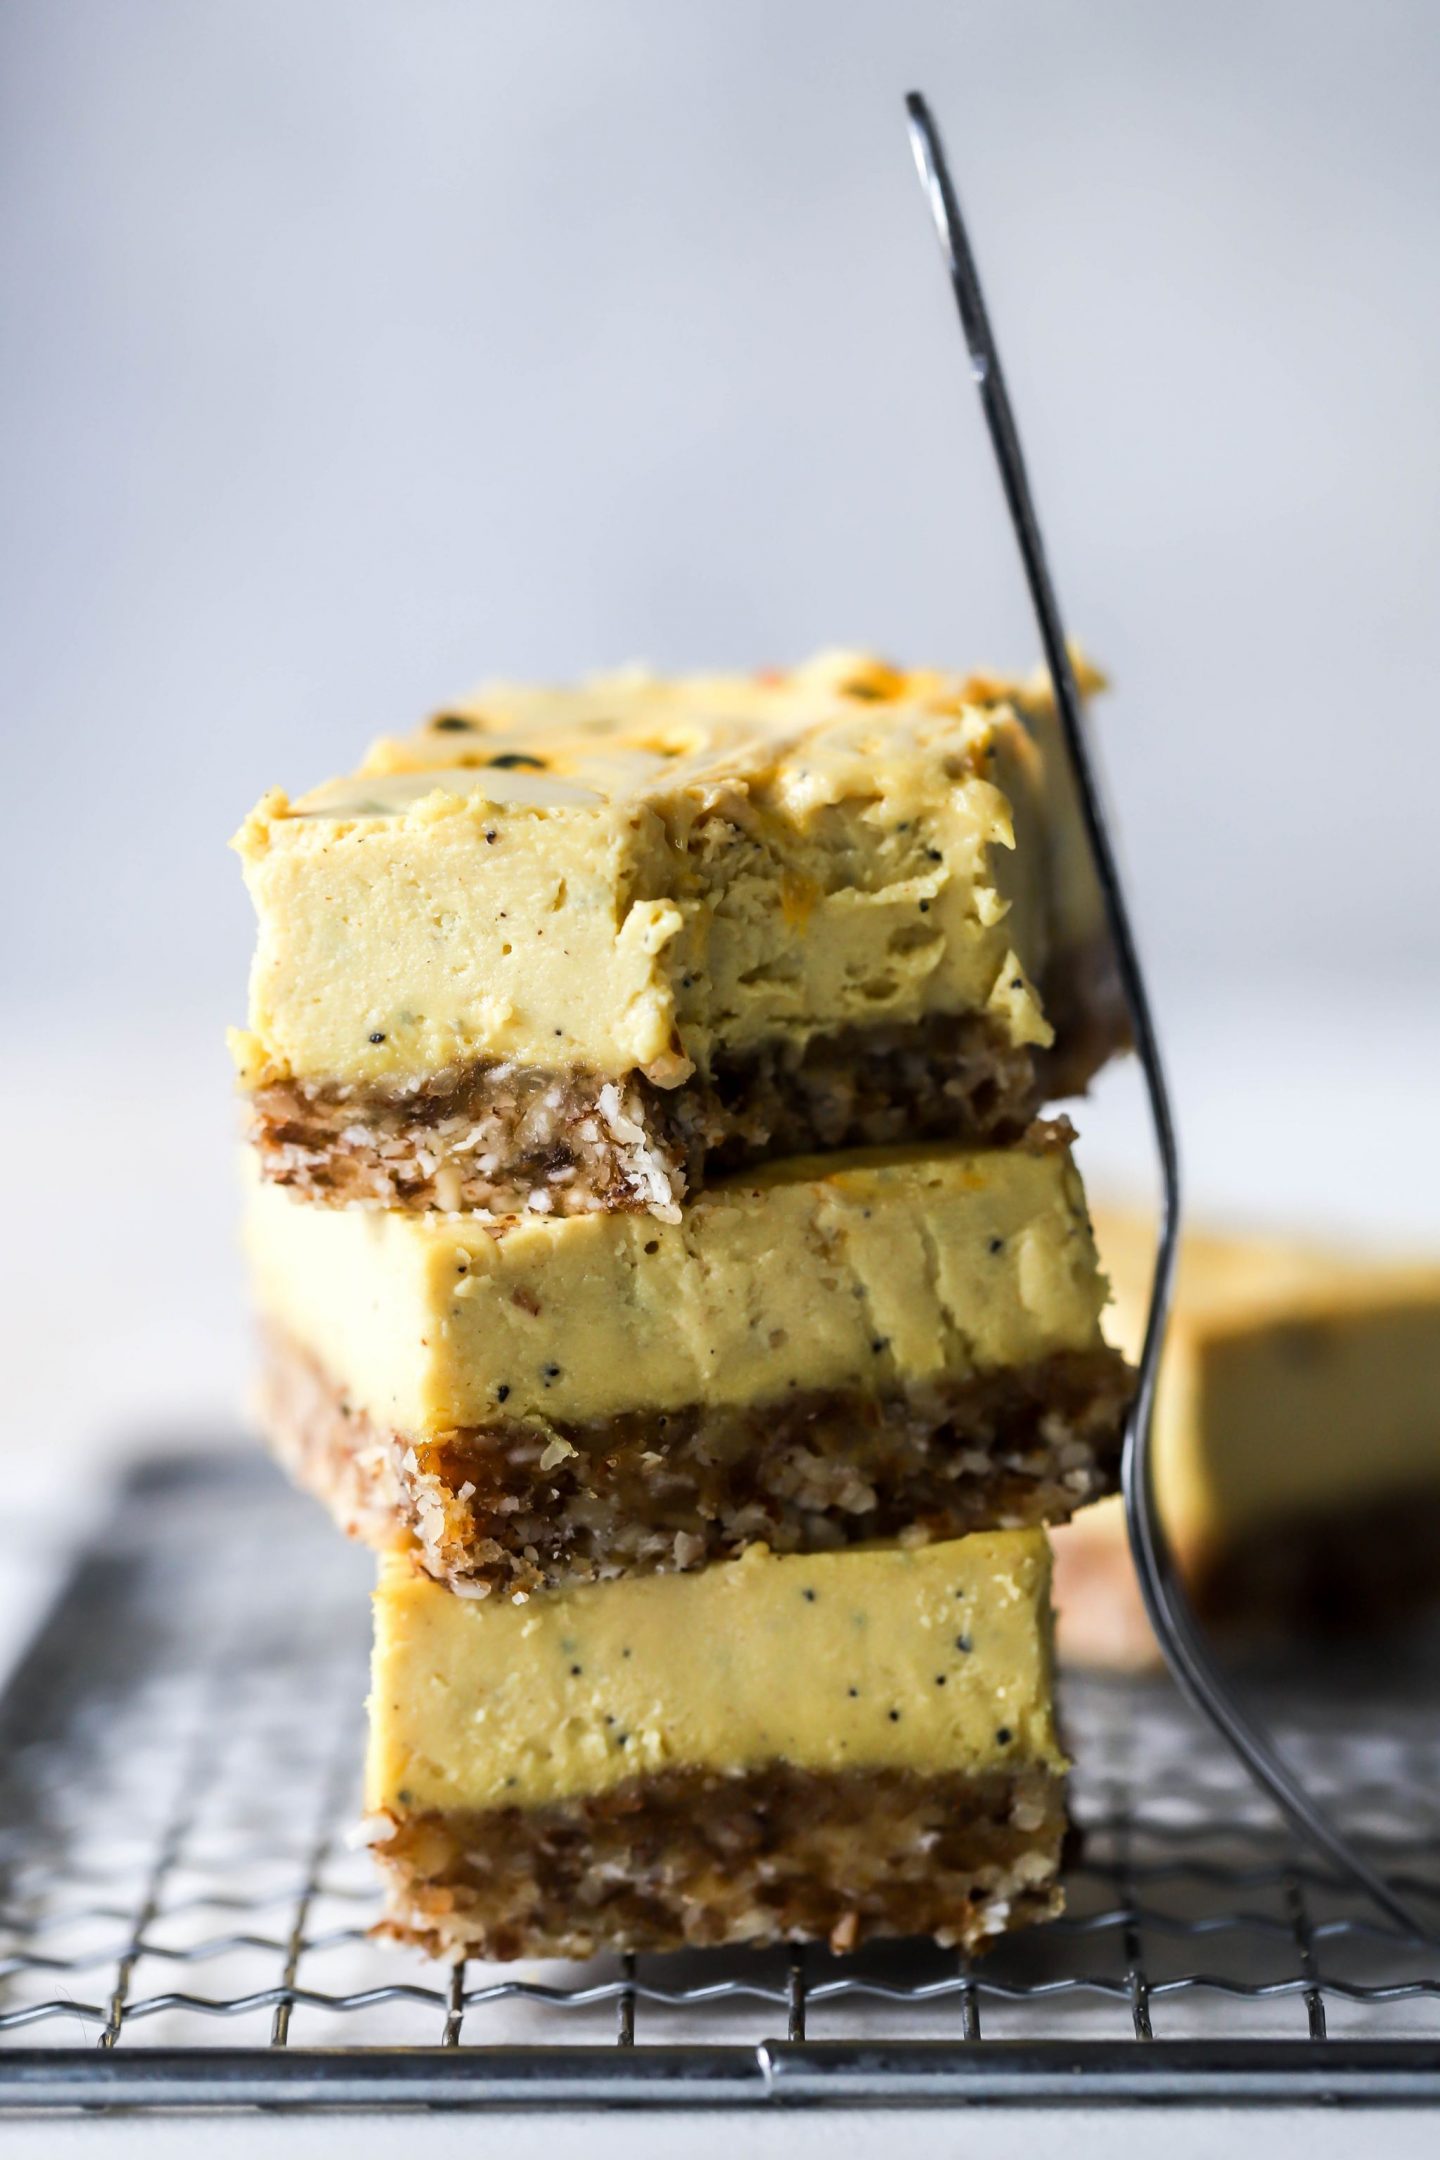
Raw Mango & Passionfruit Cheesecake Bites
Ingredients
- Base:
- 1 cup almonds
- 1/2 cup desiccated coconut
- 1 heaped cup pitted dates
- Pinch sea salt Heaped
- Tbsp coconut oil
Filling:
- 1 1/2 cup cashew nuts
- 3 blood oranges
- 2 passionfruit
- 3 tbsp coconut oil
- 4 tbsp agave syrup
- 1/2 cup coconut milk
Instructions
- Add the almonds into your Kitchen Aid blender and blitz until finely ground.
- Pour in the coconut, coconut oil, dates and salt and blend so that everything is well combined and sticks together.
- Press this into the bottom of a baking dish and pop this into the freezer to chill whilst you make the filling.
- For the creamy cheesecake mixture, combine the cashews, oranges, 1 of the passionfruit, coconut oil, agave syrup and coconut milk, then blend on high until you’re left with a completely smooth, velvety mixture.
- Pour this over the base and spread evenly.
- Take the remaining passionfruit and squeeze over the cheesecake, then use a fork to swirl this through the mixture. Leave the cheesecake to set in the freezer for at least 5 hours or overnight.
- Allow to thaw slightly before slicing into portions and serving.
